
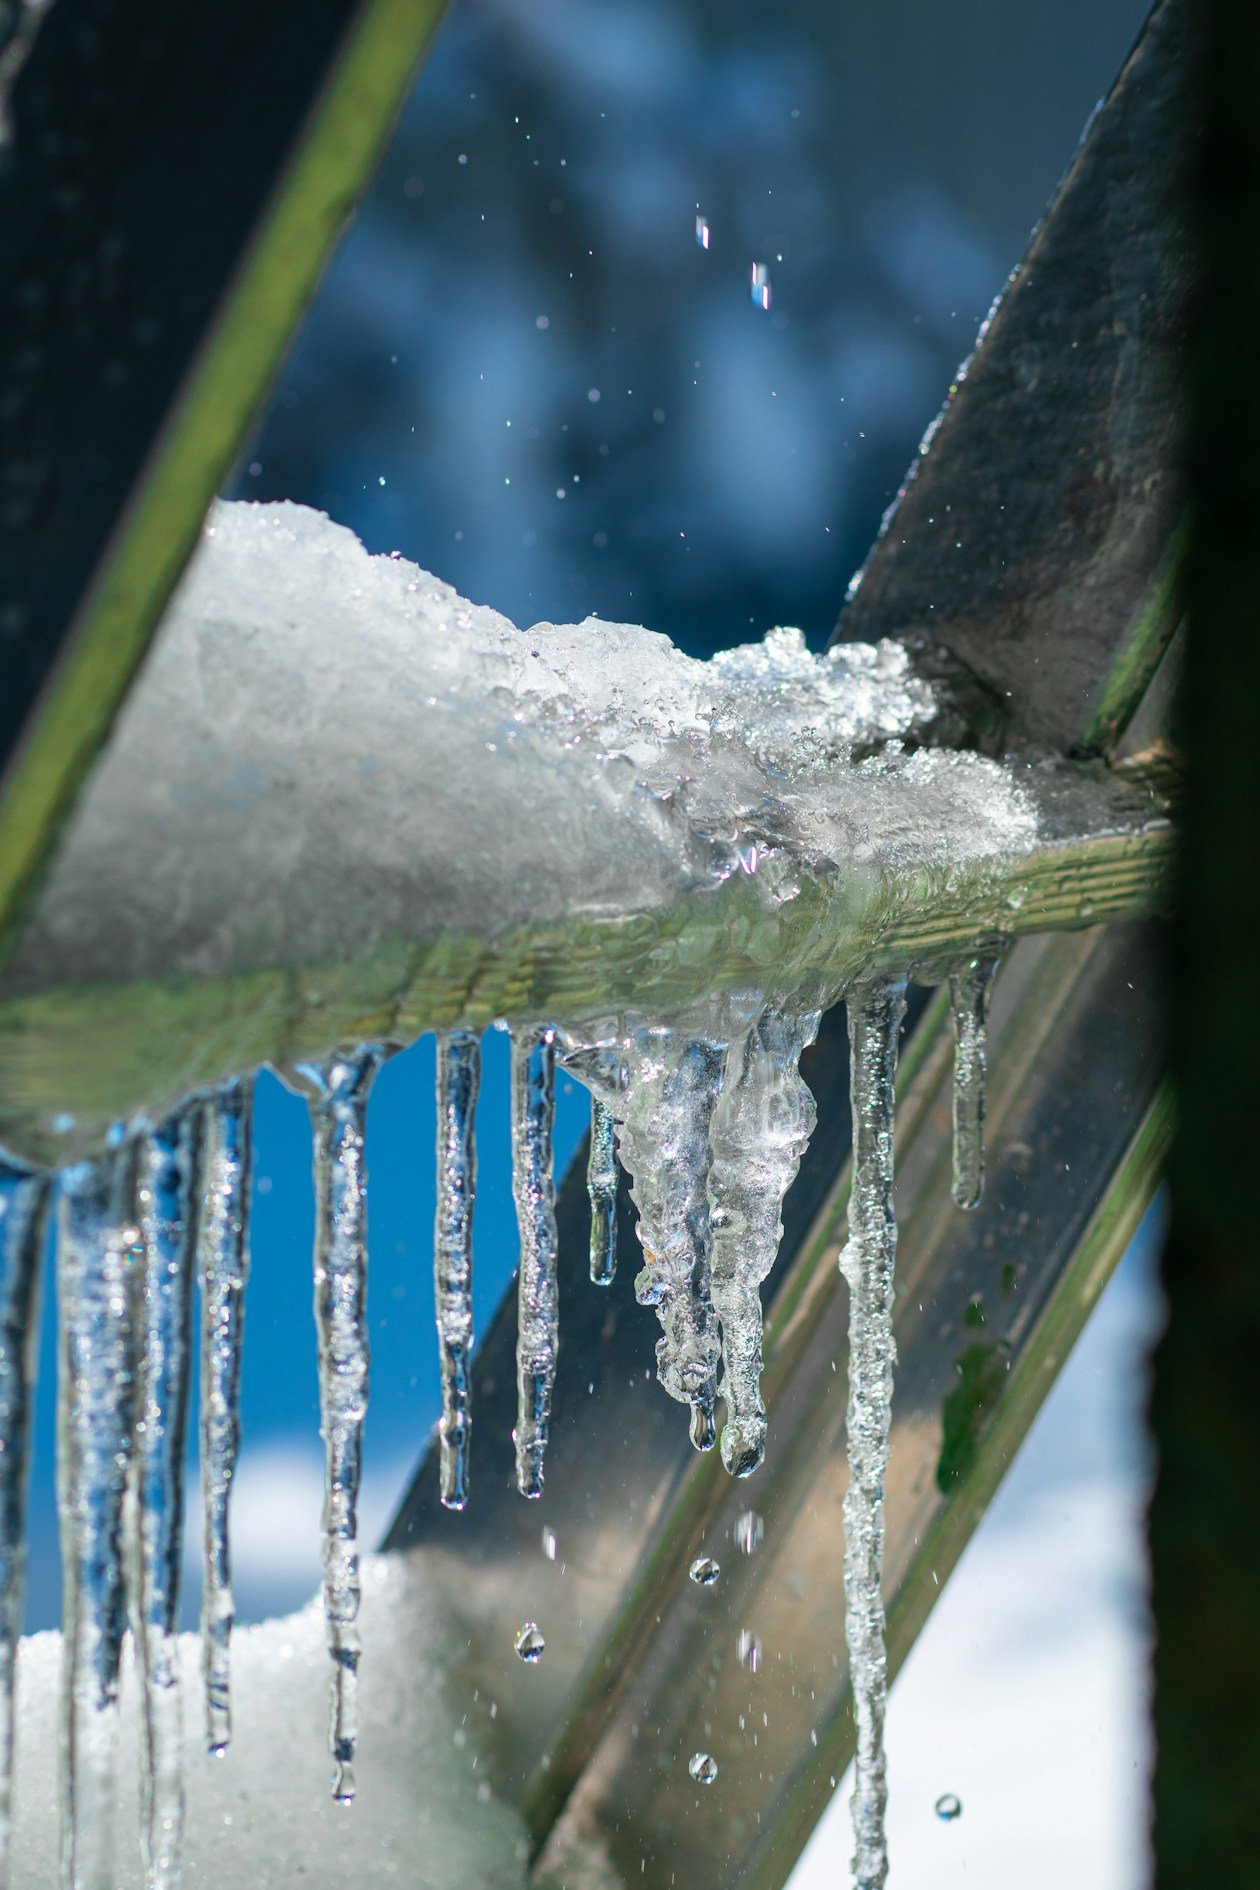
Frozen pipes are one of those problems that feel unfair. You did nothing wrong, the weather turned, and now there is water where water should not be. I have stood in a basement at dawn with a mop and a bad attitude. Never again.
This guide shows how pipes freeze, which protection options exist, how to match the product to the job, and how to keep decisions grounded when the quotes start rolling in.
Why Pipes Freeze in the First Place
Water expands when it turns to ice. The pressure builds between the ice blockage and the closed tap, and the pipe splits at its weakest point. Often that point is not where the ice formed.
Risk climbs when three things combine: low temperature, still water and exposure. Lines in crawl spaces, garages, exterior walls and attics tend to fail first. A short cold night rarely does it. A long freeze does.
| Factor | Higher risk | Lower risk |
|---|---|---|
| Location | Unheated space | Interior wall |
| Water flow | Stagnant line | Regular use |
| Insulation | Missing or wet | Dry and complete |
| Wind exposure | Open and breezy | Sheltered |
Map your own exposed lines before you spend a cent. A sketch on paper does the job.
Understand Your Protection Options
There are four common approaches, and they stack.
- Insulation, which slows heat loss
- Heat sources, which add warmth to the pipe
- Drip or flow habits, which keep water moving
- Draining and shutting off seasonal lines
Insulation alone buys time. It does not make heat. For lines that stay exposed through long cold spells, a heat source along the pipe is the next step. A self regulating heat trace cable adjusts its output according to the temperature of the surrounding pipe, so sections that are already warm draw less power. That is why this style appears so often in residential and light commercial jobs.
Here is my simple rule. Insulate first, add heat only where insulation cannot do the job, and never rely on one layer of defense for a line you cannot afford to lose.
Match the Product to the Pipe
Reading the box beats guessing. Check these items before you buy anything:
- Pipe material, such as copper, steel or plastic
- Pipe diameter and total run length
- Indoor or outdoor rating
- Voltage and available circuit capacity
- Whether a built-in or separate thermostat is included
- Approvals that apply in your area
- Instructions for covering the cable with insulation
Seven checks. Skip one and you may pay twice.
Professional installers are used to this kind of planning. The field covers everything from simple home pipe wraps to complex industrial networks, so heat-tracing is worth reading about before you speak to anyone. Knowing the vocabulary keeps you from being upsold something you do not need.
Know When to Call a Licensed Electrician
Plenty of owners can insulate a pipe. Connecting power is different. An electrical heat trace system involves wiring, protection devices and sometimes controls, and mistakes carry fire and shock risk. Hire a licensed electrician for the electrical side, even if you handle the pipe prep yourself.
Ask any installer these questions:
- What exact products will you use, and why?
- How will the circuit be protected?
- How will I know it is working?
- What does the warranty cover?
- What should I check each autumn?
- What happens if power fails during a freeze?
Six questions. Their answers tell you more than their price.
| Task | DIY friendly | Hire a pro |
|---|---|---|
| Measure runs and take photos | Yes | No |
| Add insulation | Yes | Optional |
| Connect power and controls | No | Yes |
| Annual inspection | Partly | Recommended |
Trust Your Gut, Then Check the Numbers
Owners often feel something is off long before a failure. A pipe that always sweats, a corner that stays cold. Pay attention. Then verify with a thermometer, a quick inspection or a data logger.
I keep a cheap logger in my coldest space every winter. It cost less than a take-out dinner and has saved me from two bad assumptions already.
Plan for Different Building Types
A house, a small shop and a rental building all freeze in different ways. Houses tend to lose heat through garages, crawl spaces and attics. Shops often have long runs near loading doors and unheated storage. Rental buildings add the problem of vacant units, where nobody notices a cold room until a pipe fails.
For a house, I focus on the north wall and anything that crosses an unheated gap. For a shop, I walk the door lines and check where water enters the building. For a rental, I schedule a quick visit to any empty unit during the first hard cold snap, with the heat set to a safe minimum.
Seasonal properties need extra thought. A cabin that sits empty for months should have its lines drained, its fixtures protected and its main shutoff closed. If the building stays occupied part of the winter, ask a licensed contractor to review the plan, because partial heating is a common cause of surprises.
Whatever the building, write the plan on one page. A plan nobody can find is a plan nobody follows.
Conclusion
Frozen pipes are preventable. Map the exposed lines, insulate first, add heat where needed and let a licensed electrician handle the wiring. Check your system each autumn before the first freeze. Do the walk-through this weekend and write the date on the calendar for next year.